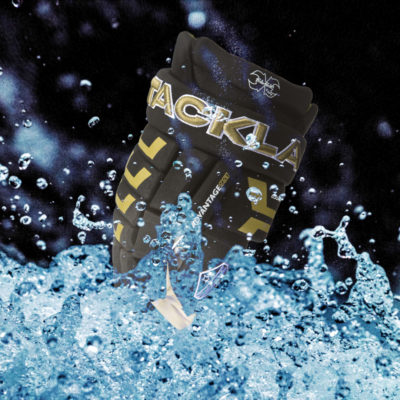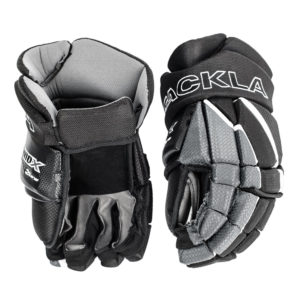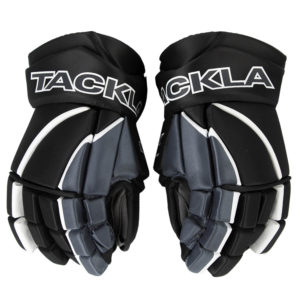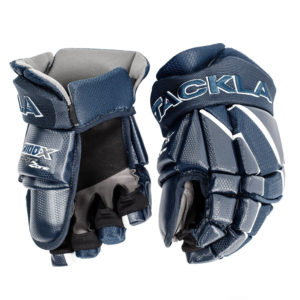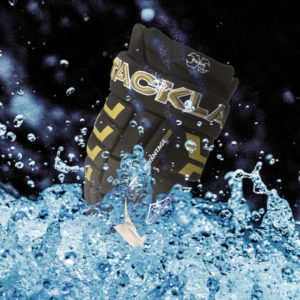
Cleaning hockey gloves can be a bit tricky, because they are made of different materials, including leather, synthetic fabrics, and padding. First hand, follow manufacturer instructions for cleaning.
Here are some general steps you can follow to clean your hockey gloves:
1. Start by filling a sink or large basin with warm water and adding a small amount of mild detergent.
2. Place your gloves in the water and use a soft-bristled brush to gently scrub away any dirt or grime. Pay extra attention to any areas with heavier staining or buildup, such as the palms or the cuffs.
3. Rinse the gloves thoroughly with clean water until all of the soap has been removed.
4. Squeeze out any excess water and use a clean towel to pat the gloves dry. Do not wring or twist the gloves, as this could damage the padding or lining.
5. Once the gloves are mostly dry, stuff them with clean towels or other absorbent materials to help them maintain their shape and avoid wrinkles.
6. Finally, set the gloves in a well-ventilated area to air dry completely. Do not put them in the dryer or use direct heat, as this could damage the materials or cause them to shrink.
If your hockey gloves have leather exteriors, you may also want to apply a leather conditioner after they dry to keep the leather soft and supple. Follow always manufacturer’s instructions for cleaning and application, if available.
By following these steps, you can help prolong the life of your hockey gloves and keep them looking and smelling fresh for the next game!
If your hockey gloves need update regardless of cleaning, visit online store or physical Tackla Center stores for shiny new gloves! You can also order online and pick up from the store.
